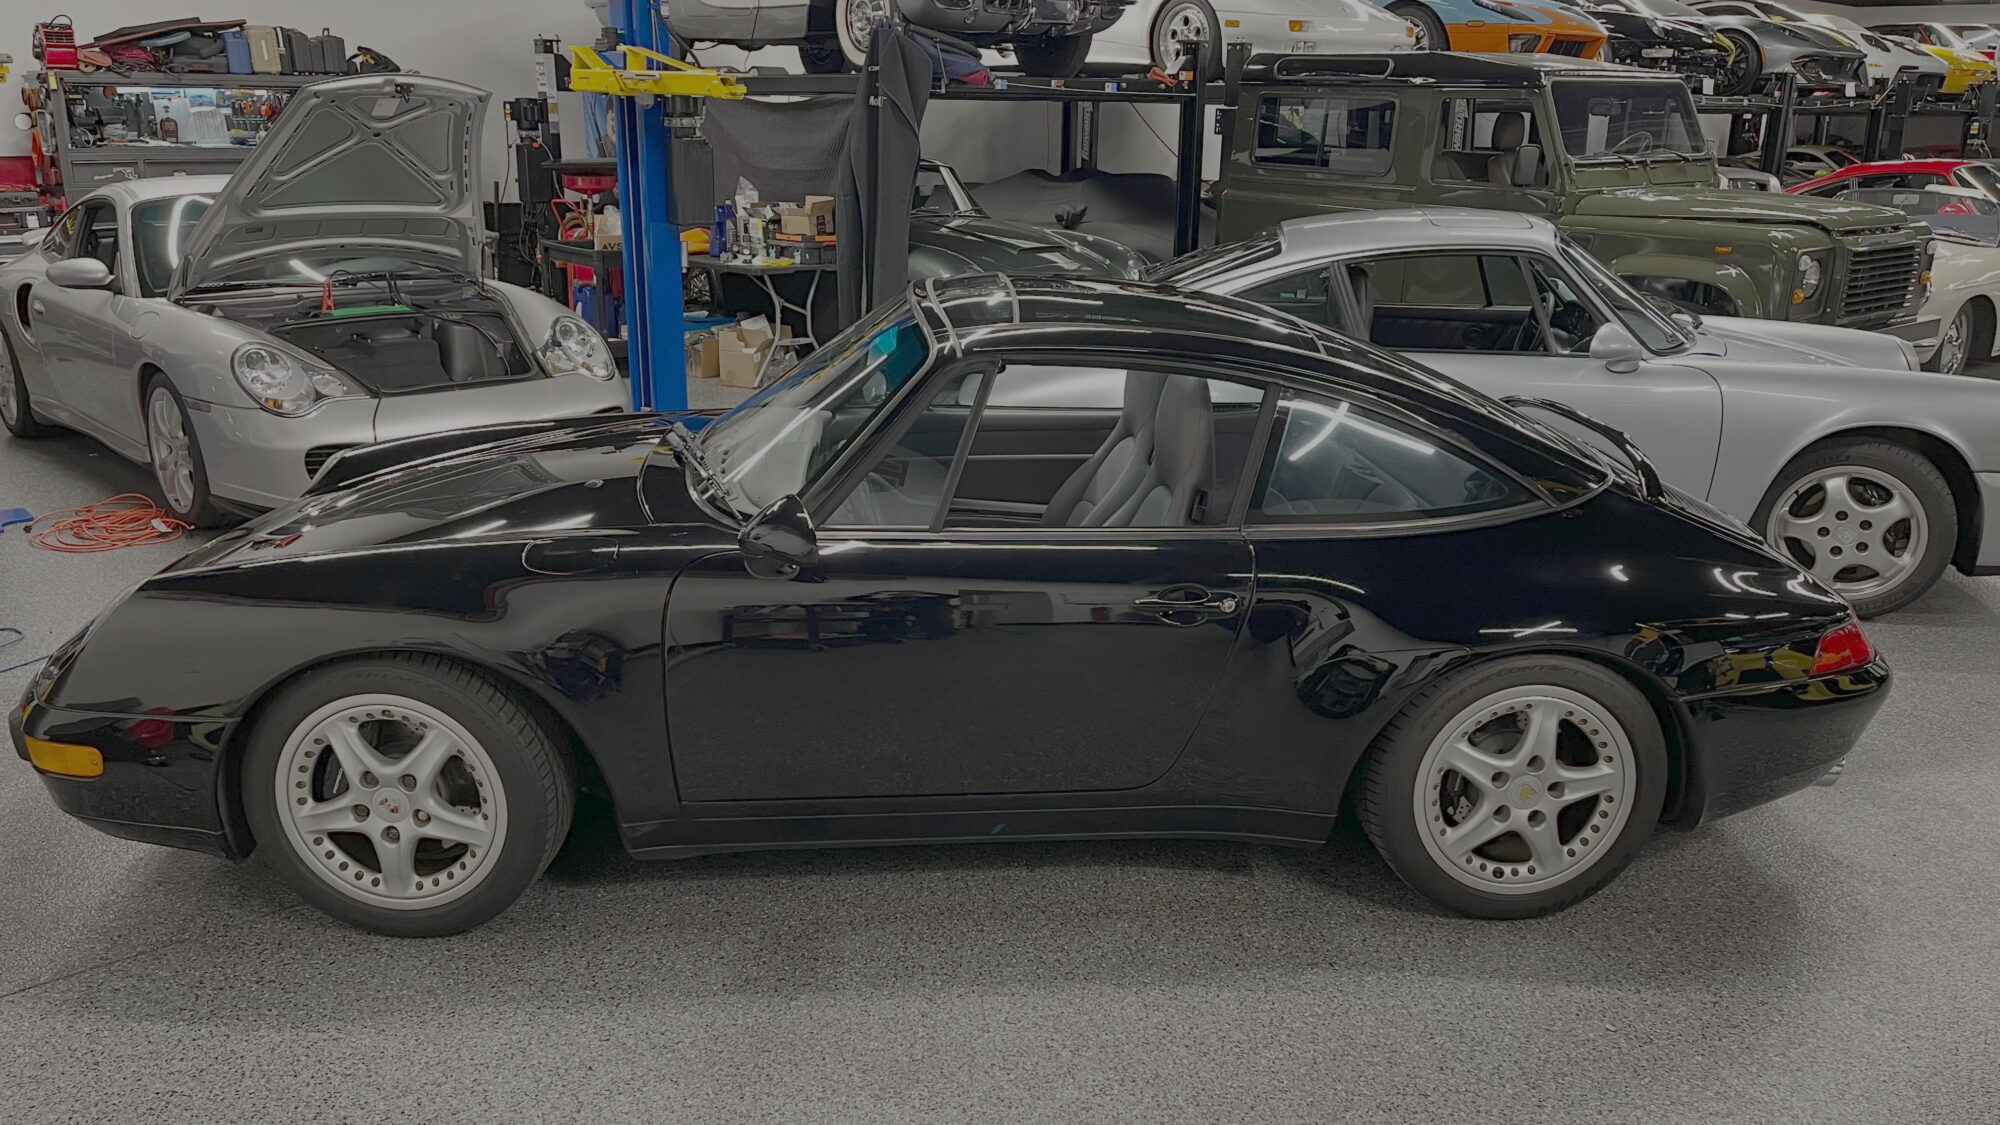
I was recently working on a 1997 Porsche 911 Targa which had been neglected for quite a while. The interior was moldy and smelled of mildew and regret. Most of the car except for the windshield trim, engine cover and frunk lid had all been repainted multiple times. The Targa badge had broken off and it took a good bit of the clear coat under it when it went. We were instructed to not “over restore the car” but still wanted to make it presentable to its new owner.
The first step was to address the stink. If we couldn’t solve that problem, it was pointless to do more. I started by steam cleaning the interior and using the steam extraction vac on all of the carpets. Fortunately with the glass targa roof on the 993 models, I didn’t have to worry about the headliner. Once dry, we removed the cabin air filters and turned on the Ozone machine with the air recirculating and the car running outside. it ran for 40 minutes in recirculation mode and then another hour with the car turned off. And then we did it again. And again. And finally used BMW Odor Removal bomb. Now it doesn’t smell moldy, just old Porsche which is a win in my book. Knowing the interior wasn’t a write off, I could move on to the paint.
Besides a few deep scratches, a decent amount of rock chips, and some seriously hazy paint, the three biggest problems were on the rear half of the car. A significant chunk had been taken out of the corner of the rear bumper. On the driver side, the quarter panel protective film (shark fin) had been cleared over and on the passenger side it had petrified and cracked through to the paint. Since the driver side didn’t look wrong, we left it as is and concentrated on trying to remove the one on the passenger side.
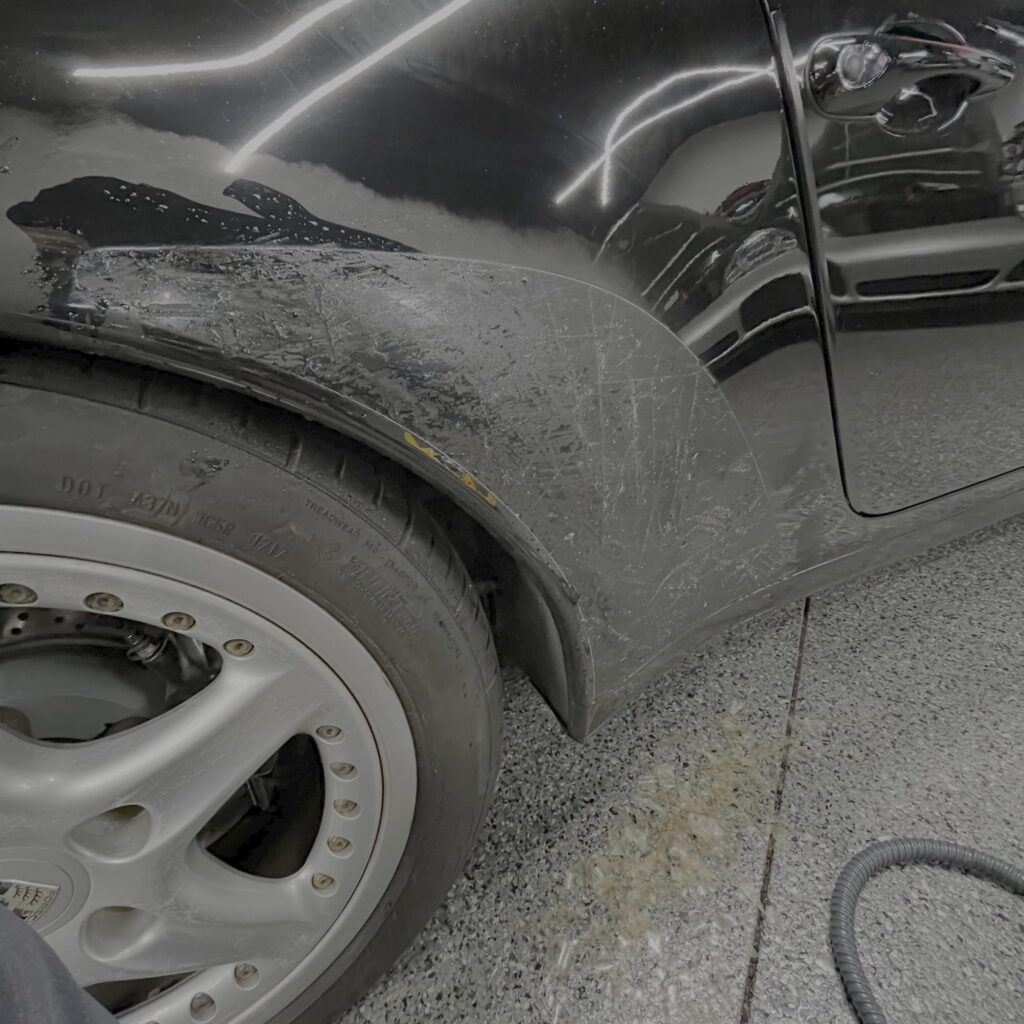
It eventually came off with a combination of heat and goo-gone, but once it was removed, the paint below if had been too badly damaged by the cracking to be worth saving. I scraped off the really bad parts and moved on to the rest of the car.
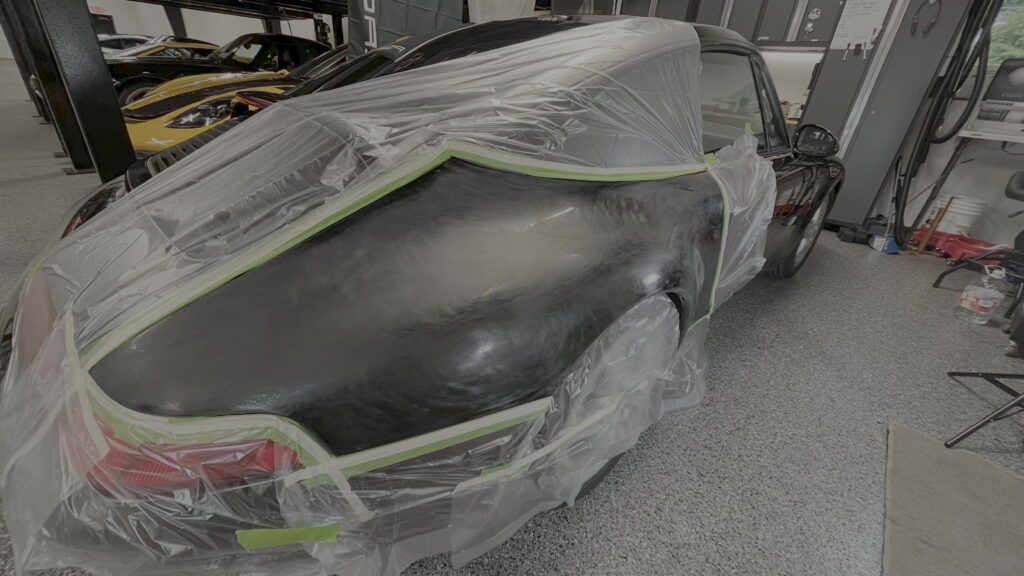
I ended up smearing Dr. Colorchip on the entire frunk lid to facilitate repair. I usually take a more targeted approach, but this method works best when a surface is really pot-marked. Once I got the majority of the car to a decent state, we called in the Pros to paint the bumper and the fender. If you’ve ever considered calling one of those services that come and paint a fender or bumper in your driveway, then this is what you need to be prepared to deal with afterwards. Be sure to ask in advance how best to correct the dust nibs and imperfections once the paint dries. Here’s the before and after images.

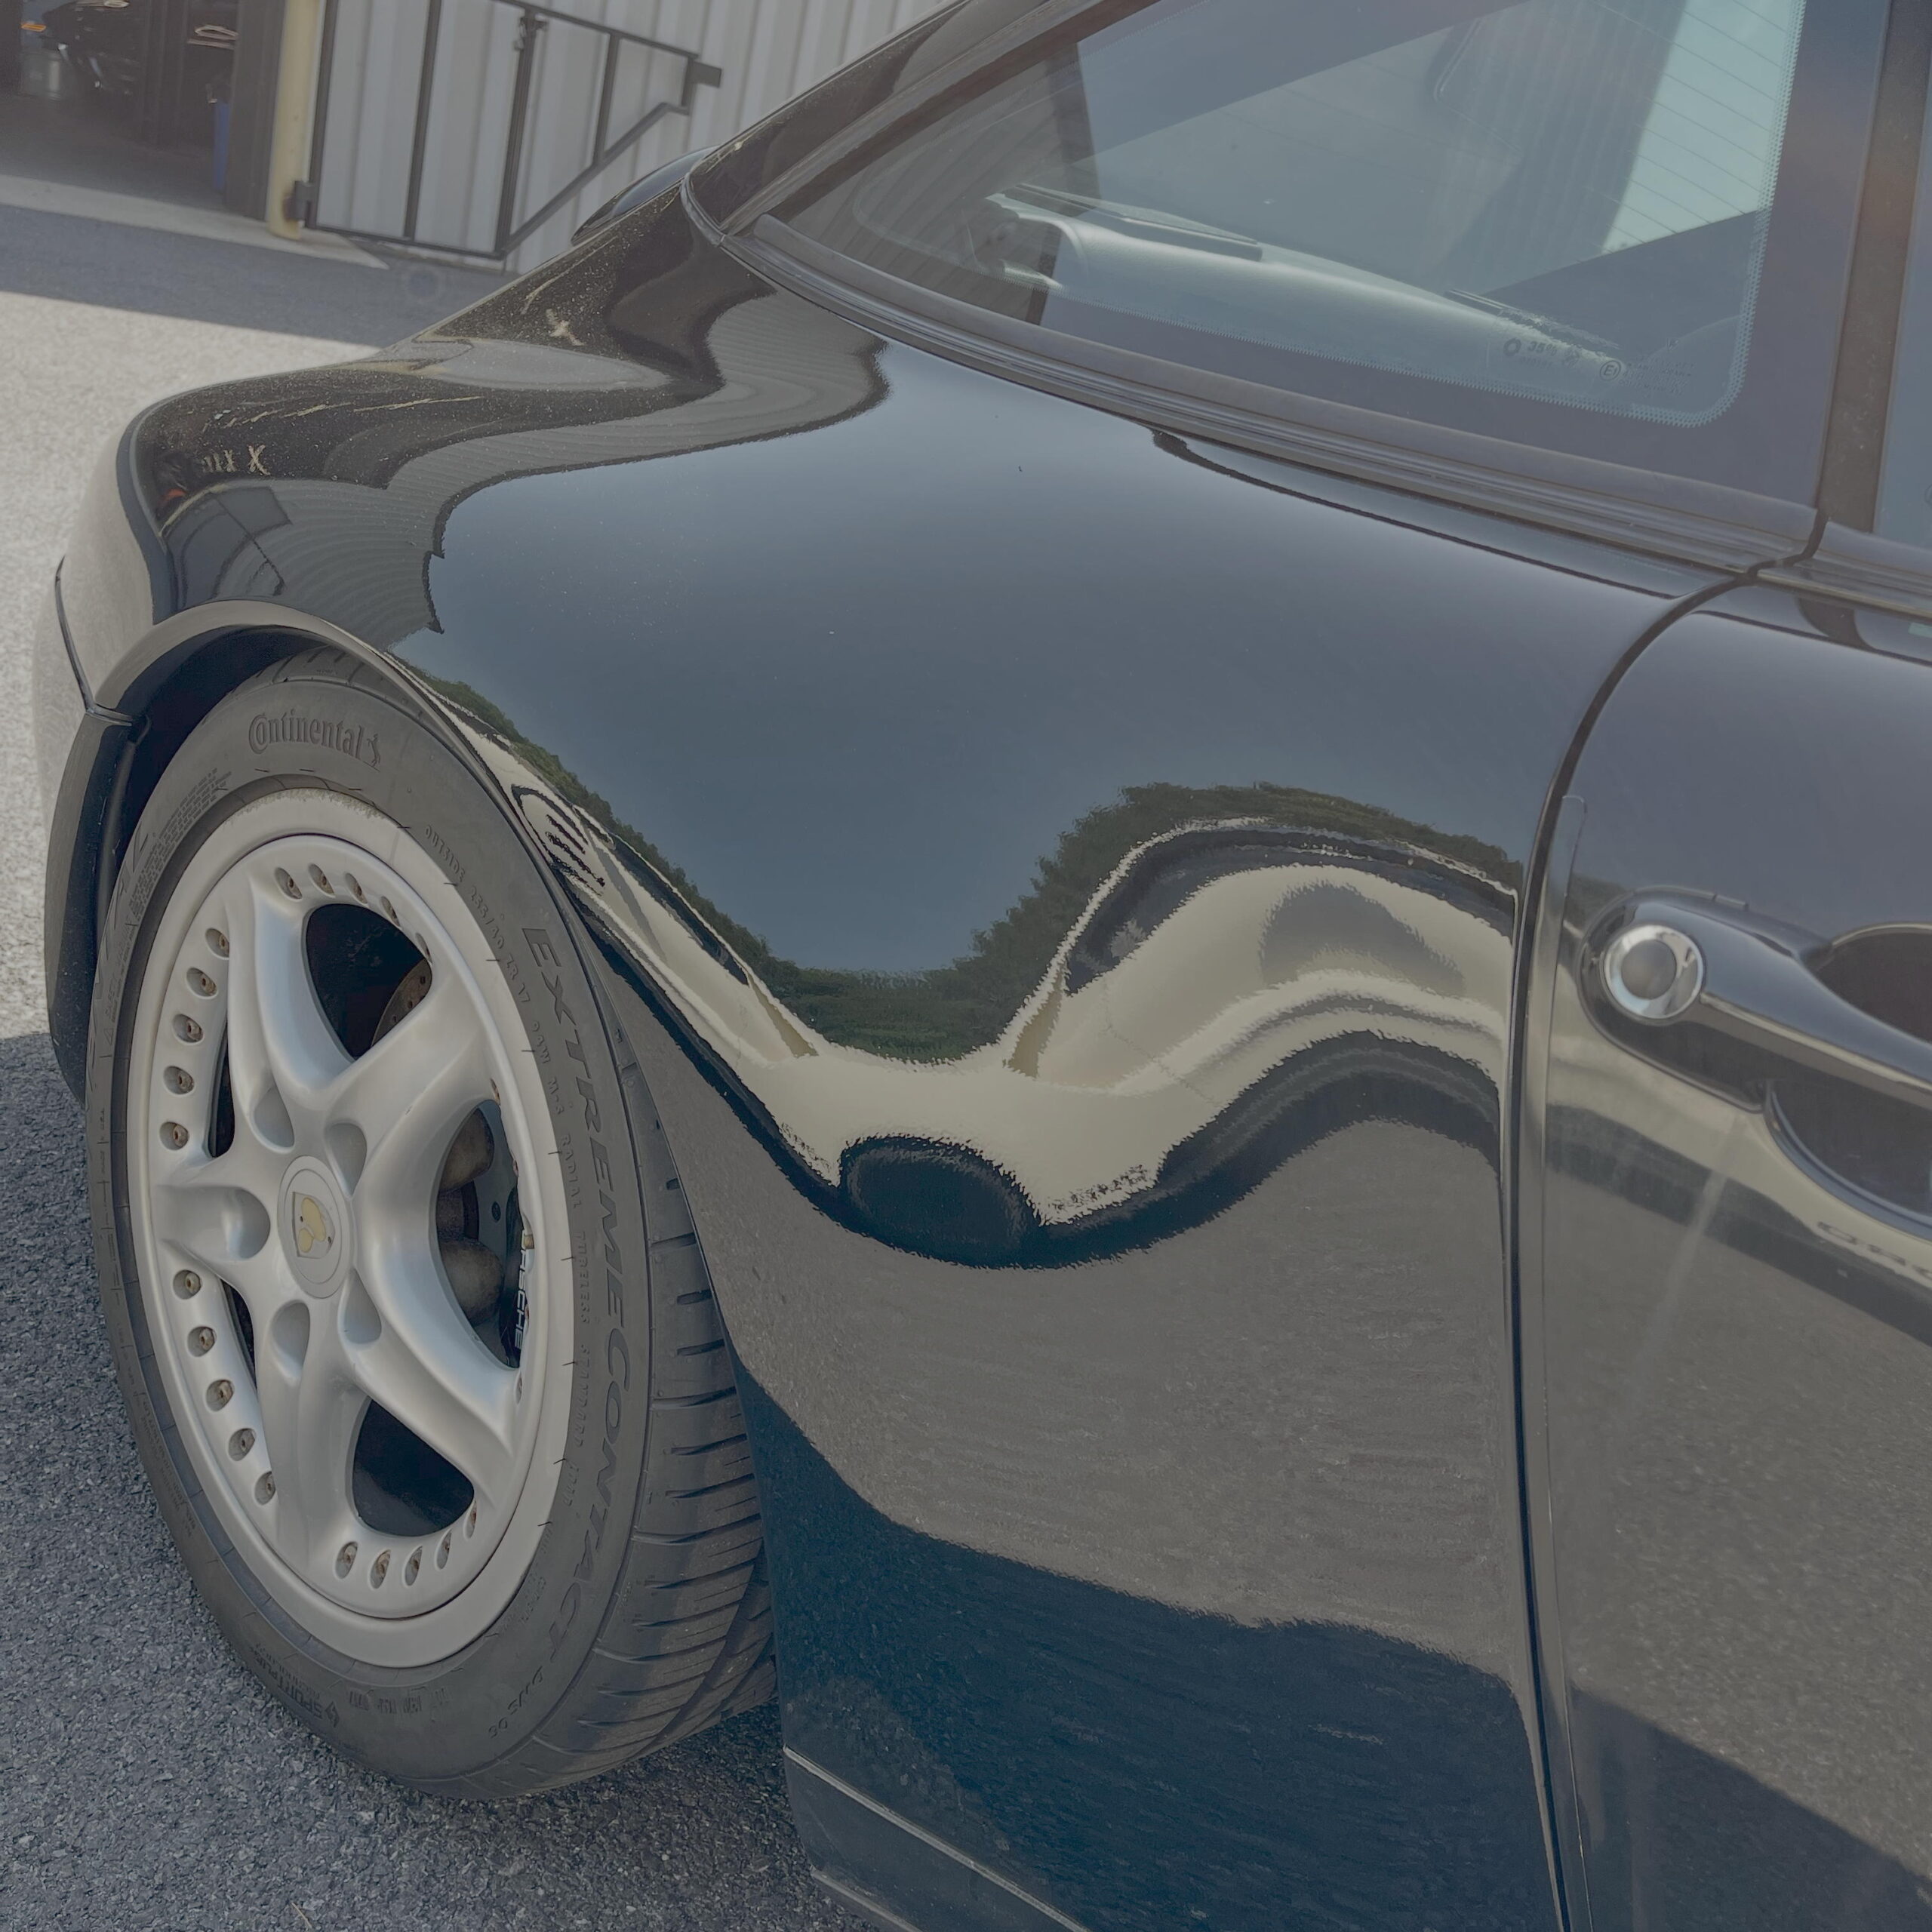
The biggest challenge with painting outdoors is all of the dust that’s going to settle on your final coat as the paint dries. Your painter should be prepared for this and apply a really generous amount of clear coat before he leaves.
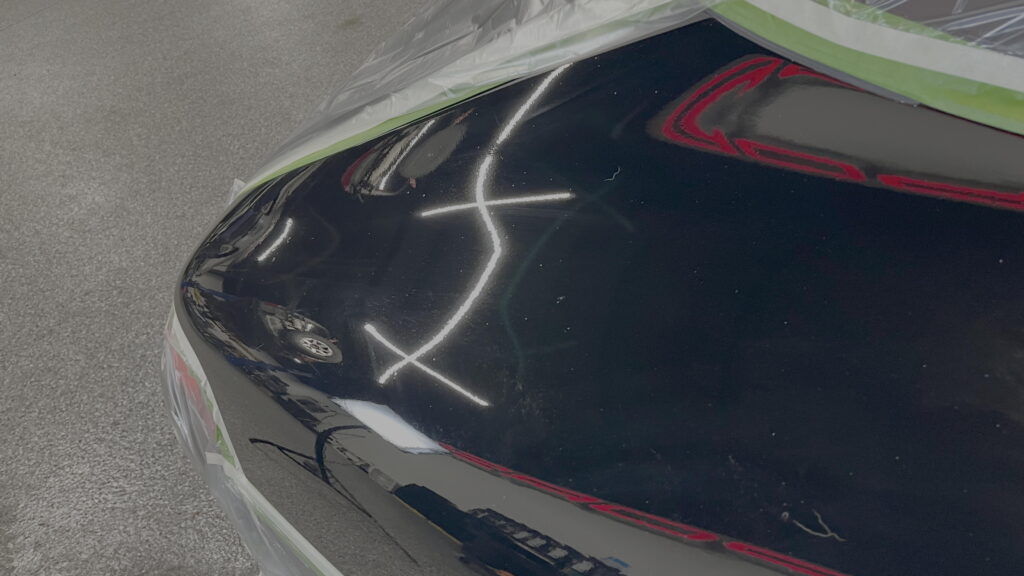
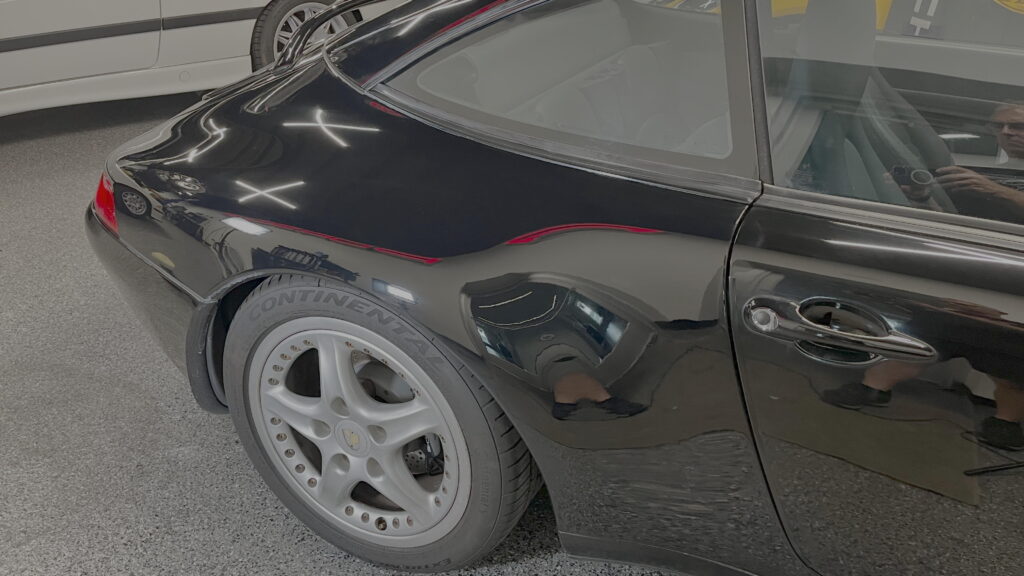
That’s what ours did and I was able to sand away almost all of the imperfections. But that too raises another problem: If you sand too much, you may make the repainted panel flatter than the rest of the car.
If you’re not prepared to wet-sand everything, then know how much orange peal you want to leave before you start sanding. My goal was not concours perfection, but rather to match the other side of the car, light scratches and all. And I think I did a pretty good job.
The bumper needed only a minimal amount of sanding. Just be careful if it’s blended into old paint rather than repainted in its entirety. You could end up chasing a phantom paint line that’s just new to old paint that isn’t going away, just going to move increasingly closer to the area of the main repair. Just stop, step away and ask if it’s good enough from 5 feet.


And that’s what this car is: It’s a solid 5 footer and won’t be anything else without a serious investment.